Learn how to re-caulk your bathtub or shower the right way — including the one step most people skip that causes early failure.
You've probably noticed it: that strip of caulk around your bathtub or shower that's gone gray, cracked, or started pulling away from the tile. It's one of those things you walk past every morning, meaning to deal with it soon. But here's the thing — when caulk fails, water doesn't just sit on the surface. It works its way behind the tile and into the wall, quietly setting the stage for mold growth and repairs that cost a whole lot more than a $6 tube of caulk.
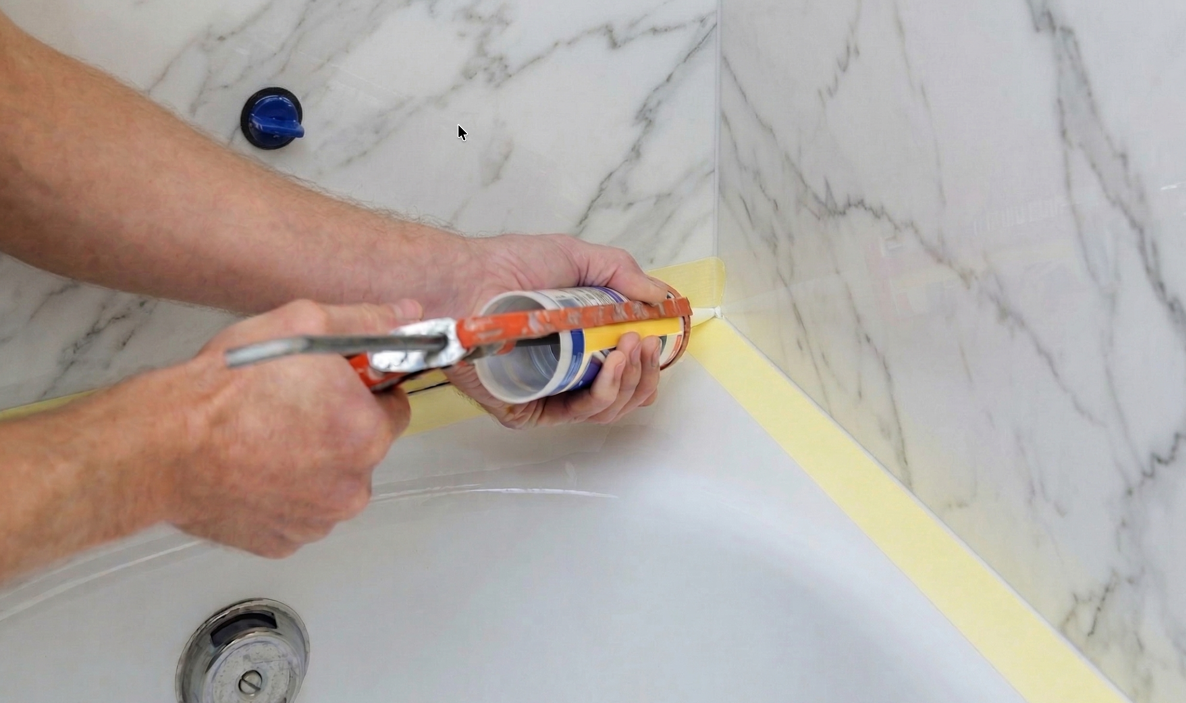
The good news? Re-caulking a shower or tub is something a handy homeowner can absolutely do. The not-so-great news? It's easier to mess up than it looks. A rushed job often fails within a few months and puts you right back where you started.
Fresh, properly applied caulk does two important jobs: it seals the gap between your tub basin and tile wall (a gap that expands and contracts with every hot shower), and it keeps moisture out of places it should never go. In San Diego, it's easy to forget that the real moisture threat in our homes is usually inside the bathroom walls — not outside. Homes across 92127, 92130, 92129, and surrounding neighborhoods — many built in the last 10–20 years — have tile showers that look great on the surface while quietly losing their seal every year.
Water damage behind a shower wall is one of the more expensive repairs we see deferred from routine maintenance. The caulk job that prevents it costs almost nothing.
Done well, a fresh caulk job should last 5–10 years. Done in a hurry — wrong product, damp surface, old caulk still underneath — and you'll be peeling it out again inside of a year. The difference almost always comes down to prep: cleaning thoroughly, waiting for it to dry, and removing the old material completely before you start.
If it sounds fiddly, that's because it is a little. But the payoff is a sealed shower, no hidden moisture, and one fewer thing to worry about.
For Livd members, bathroom caulking is exactly the kind of task our team takes off your plate during a regular visit. We bring the right materials, do the prep properly, and get it done right the first time. If you've been meaning to get to it, just add it to your task list in the app and we'll take care of it on your next visit.
Not a Livd member yet? This is one of dozens of small-but-important tasks that never quite rise to the top of the to-do list — until something goes wrong. A Livd subscription means someone's actually tracking these things and getting them done, before they become a problem.
Already a member? Add "re-caulk bathroom" to your task list in the Livd app and we'll handle it on your next visit.
New to Livd? Start with a free home walkthrough. Our team will take a look at your bathrooms and everything else that needs attention, and build you a proactive maintenance plan — no obligation. Book your free walkthrough at livdhomes.com.