Drafty windows quietly raise your energy bill. Here's how to caulk around them properly in an afternoon — including the prep most people skip.
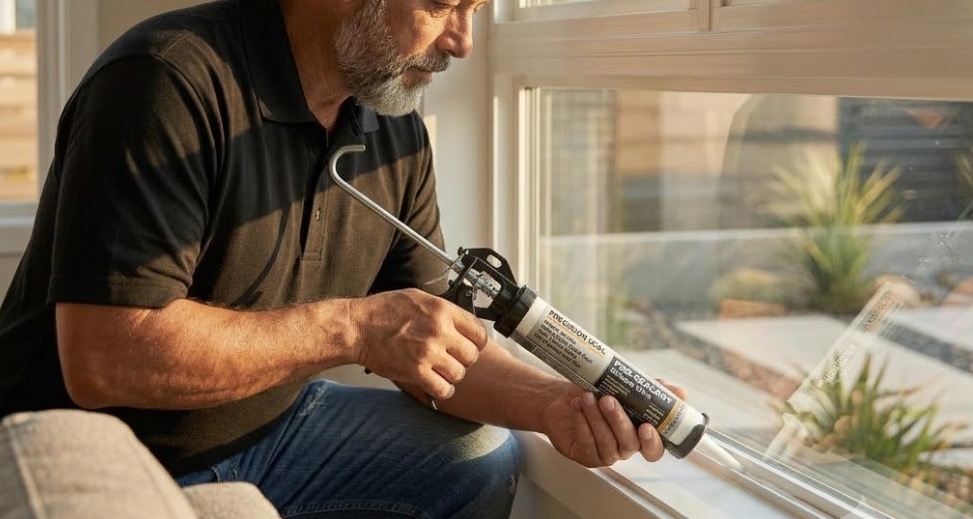
If a room in your house always feels a little drafty, or your energy bill creeps up without an obvious reason, your windows are a likely culprit. Over time, the bead of caulk sealing your window frames to the wall dries out, cracks, and pulls away — leaving thin gaps that let conditioned air escape and outside air sneak in.
The good news: re-caulking around a window is one of the simplest, cheapest home upgrades you can do, and it pays you back almost immediately in comfort and lower bills. The not-so-good news: a rushed job peels away within a season. Here's how to do it once, properly.
The seal around a window does quiet but important work. It blocks drafts, keeps your heating and cooling from leaking straight outside, and stops moisture, dust, and pollen from working their way into the wall. When that seal fails, you don't just lose comfort — you risk water finding its way behind the siding, which is a far more expensive problem than a tube of caulk.
In San Diego, afternoon sun and coastal salt air are hard on exterior caulk. South- and west-facing windows take the most UV damage, and in breezier neighborhoods like Carmel Valley, Del Sur, and Rancho Peñasquitos (ZIP codes 92130, 92127, 92129), failing seals also let in the dust and pollen those ocean breezes carry. Most caulk lasts about five years before it needs refreshing.
A caulk gun, a tube of exterior-grade caulk (a paintable silicone-latex hybrid holds up best to sun and weather), a utility knife or putty knife, a caulk-removal tool, painter's tape, a clean rag, and isopropyl alcohol. For interior trim, a smaller squeeze tube without a gun works fine.
Both sides of a window can leak air. Outside, focus on the seam where the frame meets the siding or stucco, using an exterior-grade, weatherproof caulk. Inside, seal the gap where the trim meets the wall with a paintable interior caulk for a clean, finished look. For a genuinely drafty window, doing both sides is what stops the air movement for good.
Caulk tends to fail on a similar timeline across a house, so if one window needs it, the others probably do too. Walk the perimeter of your home on a breezy day and run your hand around each window frame — anywhere you feel air moving is a candidate. Knocking them all out in one afternoon takes far less time than doing them one at a time.
For Livd members, window caulking is one of those small, high-impact tasks that's easy to put off for years — and one we often roll into a seasonal walkthrough. We bring the right weatherproof products, prep each surface properly, and seal every window in one visit so the whole house feels tighter and quieter.
Already a Livd member? Add "window caulking" to your task list in the Livd app and we'll take care of it on your next scheduled visit.
Not a Livd member yet? Schedule your free home walkthrough at livdhomes.com — we'll assess what your home needs and build a proactive maintenance plan to get it all handled.