Got a small hole in your drywall? Here's how to patch it so it disappears — including the prep steps most people skip.
If you've got a doorknob-sized crater in your wall, or a nail hole that's been "on the list" since the last time someone hung a picture — you're definitely not alone. Small drywall holes are one of the most common home repairs, and also one of the most commonly deferred, because the project feels fiddly or easy to mess up.
Here's the thing: a bad patch job is often more obvious than the original hole. Lumpy spackle, a visible seam, or paint that doesn't quite match can leave a wall looking worse than before. The good news is that a clean, invisible repair is very doable — it just takes the right prep.
Small holes have a way of staying small forever — if you actually patch them. Left alone, they collect dust, catch the light at certain times of day, and give the subtle impression that a home is less cared for than it is. In neighborhoods like Carmel Valley, Rancho Peñasquitos, and Scripps Ranch (92130, 92129, 92131), where well-maintained homes sell quickly and for strong prices, even minor cosmetic details make a difference.
Practically speaking: if moisture ever finds its way into an open hole — from a nearby pipe, bathroom humidity, or condensation — what starts as a cosmetic fix can become a mold remediation project.
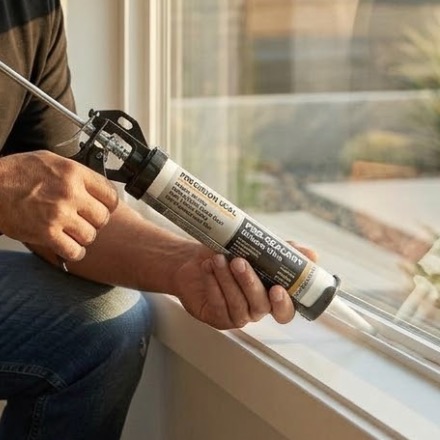
For holes under 4 inches, you don't need a contractor. Your supply list: spackle or lightweight joint compound, a 2–4 inch putty knife, fine-grit sandpaper (120–220 grit), primer, and touch-up paint that matches your wall. For holes between 1–4 inches, add a self-adhesive mesh patch kit from any hardware store. For nail holes and small dings, spackle alone is usually enough.
Drywall patching is one of those jobs that tends to reveal how many small repairs have been quietly piling up. A crack along a doorframe, an old anchor hole from a shelf, a scuff near the baseboard — all fixable in the same session with the same materials. Do a quick walk-through before you open the spackle so you can knock out everything in one pass.
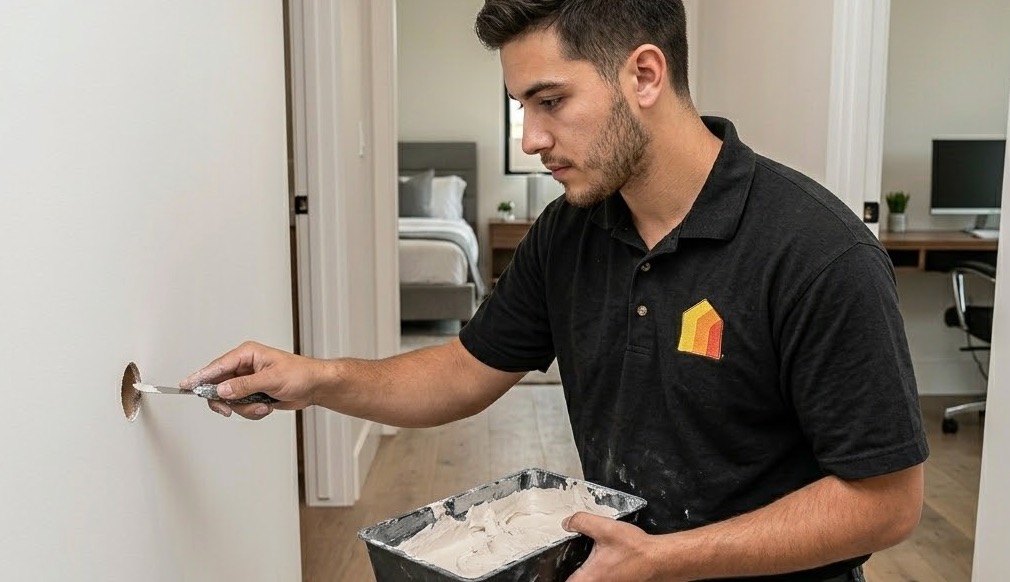
For Livd members, drywall touch-ups are one of the most commonly requested tasks during regular visits — and one of the most satisfying. A clean patch, properly primed and painted, just looks like a well-maintained home. We bring the right materials, match the compound to your wall texture, and finish with paint so the repair actually disappears.
Already a Livd member? Add "drywall patch" to your task list in the Livd app and we'll take care of it on your next scheduled visit.
Not a Livd member yet? Schedule your free home walkthrough at livdhomes.com — we'll take stock of what your home needs and build a proactive plan to get it all handled.