Touch-up paint that ends up patchy is maddening. Here's how to match, prep, and blend small repairs so they vanish into the wall — no shiny spots.
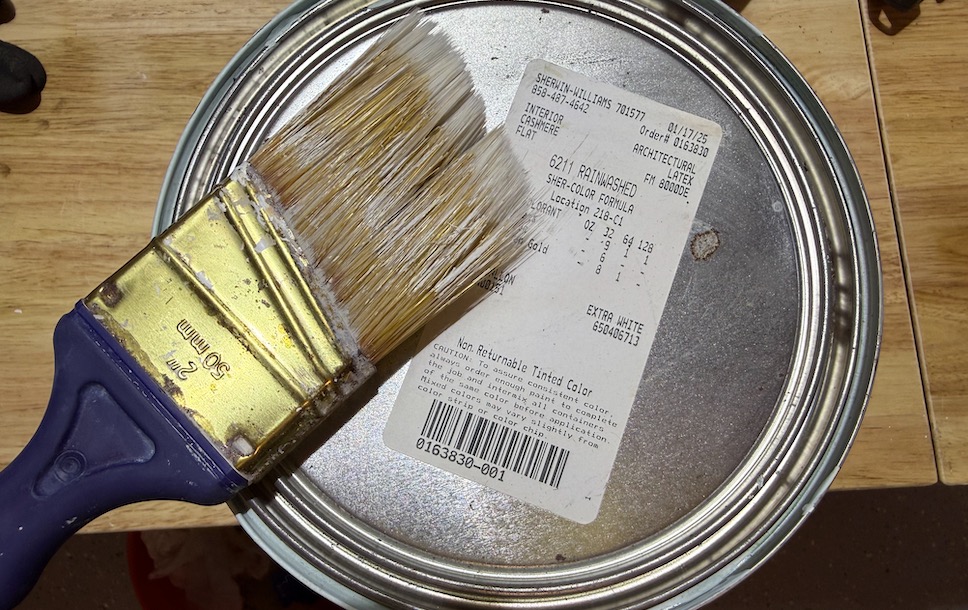
You bump the hallway wall moving the couch, patch a nail hole, or scrub off a scuff — and now there's a small mark begging to be painted. The leftover can is right there in the garage, so this should be a two-minute job. Then you dab it on, step back, and somehow the "fix" is more obvious than the mark you were covering. If you've ever ended up with a wall full of shiny little patches, you're in good company: it's one of the most common paint frustrations we hear about in San Diego homes.
The good news: touching up interior paint so it actually disappears is completely doable. It comes down to matching, prep, and a couple of technique tricks most people skip. Here's how to do it right the first time.
A touch-up stands out for three main reasons. First, sheen: flat, eggshell, satin, and semi-gloss all reflect light differently, and even the right color in the wrong sheen will flash under a lamp. Second, color drift: paint on the wall has faded slightly from years of sunlight and washing, so a fresh dab of the "same" color reads brighter. Third, application: a thick blob of new paint sits differently than the thin, rolled coat around it.
Get those three things right and a touch-up melts into the wall. Here's how.
Your original paint (or a fresh color match), a small angled brush and a mini foam roller, painter's tape, a clean rag, mild soap and water, lightweight spackle and a putty knife for any holes, and a fine-grit sanding sponge. If you don't have the original paint, most paint stores can color-match a chip or a photo — but a physical chip is far more accurate.
Sometimes the surrounding paint has faded so much that no dab will match — especially on sun-exposed walls in bright neighborhoods like Carmel Valley, Del Sur, and Rancho Peñasquitos (ZIP codes 92130, 92127, 92129). In those cases the trick is to repaint the whole wall corner to corner. Because trim and corners act as natural stopping points, a full wall blends seamlessly where a spot never would. It's more work, but far better than a patchwork of mismatched dots.
Touch-up painting is simple in theory and fiddly in practice — matching sheen, feathering edges, and knowing when a spot needs a full wall is exactly the kind of judgment that comes from doing it all the time. For Livd members, small paint repairs are a natural add-on during a scheduled visit, and because it's the same dedicated handyman each time, they get to know your walls, your colors, and where the leftover cans live.
Already a Livd member? Add "paint touch-ups" to your task list in the Livd app and we'll take care of it on your next scheduled visit.
Not a Livd member yet? Schedule your free home walkthrough at livdhomes.com — we'll assess what your home needs and build a proactive maintenance plan to keep the little things from becoming big ones.