Home Safety

How to Check Your Home for Water Leaks (A 30-Minute Walkthrough)

Small, hidden leaks under sinks, around toilets and in shower caulk cause most water damage. Here's a room-by-room leak check you can do yourself, plus the water meter test.
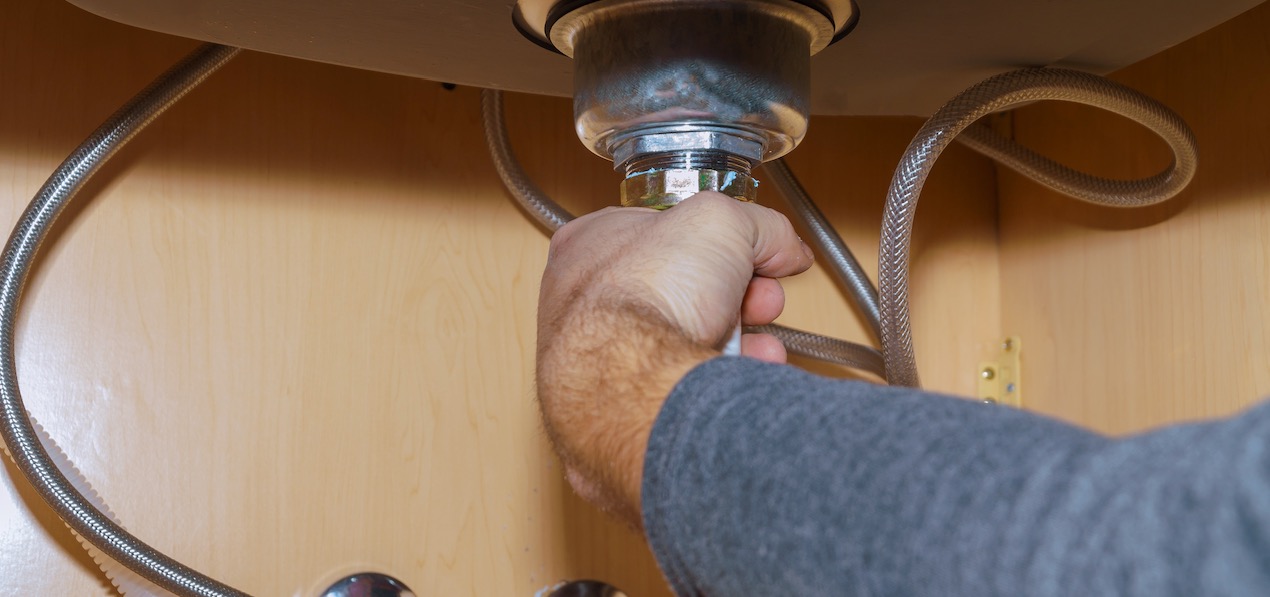
Hand checking a sink drain connection for leaks under a kitchen sink, with braided supply lines and shut-off valves

Most water damage doesn't start with a burst pipe. It starts with a slow drip under a sink, a toilet that's been rocking on a failing seal, or cracked caulk letting shower water seep into the wall. By the time you see a stain, the damage is already done.

The good news is that a leak check is simple. With a flashlight and a few minutes per bathroom, you can catch most problems while they're still cheap to fix.

Why It Matters

Hidden leaks waste water, raise your bill and quietly damage cabinets, subfloors and drywall. Left alone, they lead to mold and repairs that cost thousands. Caught early, the fix is usually a new supply line, a tightened fitting or a fresh bead of caulk.

Start With the Water Meter Test

This tells you whether you have a leak anywhere, even one you can't see. Turn off every faucet, appliance and the irrigation system. Find your water meter (usually in a box near the street) and look for the small triangle or dial called the leak indicator. If it's moving while nothing is using water, you have a leak somewhere. You can also write down the reading, wait two hours without using water and check again.

What You'll Need

A bright flashlight, dry paper towels, a small inspection mirror (helpful for tight spots) and a notepad.

One Rule: Look, Don't Poke

Don't scratch, pick at or press on soft caulk, stained drywall or questionable spots. You can make a small problem bigger. And don't crank old shut-off valves you're unsure about; a seized valve can break or start leaking when forced. Just note what you find.

Room-by-Room Leak Check: Step by Step

  1. Set up under each sink. Empty the cabinet and lay a dry paper towel flat on the cabinet floor. Any drip during the check will show up on it.
  2. Trace the supply lines and valves. Follow the hot and cold lines from the shut-off valves to the faucet. Look and feel for moisture, and check the fittings at both ends for drips, white mineral crust or green corrosion.
  3. Run the faucet. Turn it on full hot, then full cold, for about a minute. Watch the base of the spout, the handles and the connections underneath for drips or seepage.
  4. Check the drain. While the water runs, shine the flashlight on the P-trap and every drain connection. Then plug the sink, fill it halfway and release it, watching from below for weeping at the drain flange.
  5. Check the faucet base. Dry the area around the faucet, then press a dry paper towel around its base. Any moisture on the towel means the seal has failed.
  6. Inspect the cabinet. Look at the floor, walls and back panel for stains, swelling, soft spots or mold. Stains without an active drip point to an earlier or intermittent leak.
  7. Check the shower. Turn on the shower and look at the shower head connection at the wall arm, and both ends of any handheld hose. A dripping shower head is usually a cheap fix.
  8. Check each toilet. Look for lifting caulk or staining where the base meets the floor, and check the supply line behind it. Rock the toilet gently by hand; there should be no movement at all. A wobble can mean a failing wax seal. If it runs between flushes, see how to fix a running toilet.
  9. Inspect caulk and grout. Look at the caulk around tubs, showers, countertops and backsplashes for cracks, gaps, peeling or discoloration. Then hold your flashlight low and parallel to the tile so the light rakes across it. This makes hairline cracks and missing grout easy to spot, especially at corners and where walls meet floors. Our guide on caulking a bathtub or shower walks through the fix.
  10. Check the kitchen appliance connections. Look at where the dishwasher drain hose meets the sink drain or disposal, and the refrigerator's ice maker line if you can reach it.

How Often Should You Do This?

Every six months is a good habit. Many homes in Rancho Peñasquitos, Rancho Bernardo and Scripps Ranch (92129, 92128, 92131) were built in the 1970s and 1980s, and older supply lines and fittings are more likely to start weeping.

Make It Easier Next Time

Inexpensive water leak sensors under sinks and behind the washer and water heater will alert your phone the moment they get wet. They're one of the best-value upgrades in any home.

Let Our Team Handle It

A leak check is quick, but it's also one of those tasks that never quite makes it onto the calendar. For Livd members, your dedicated handyman inspects every sink, fixture, toilet and caulk line twice a year as part of your proactive maintenance plan. You get a report with photos of anything flagged, sorted into active leak, moisture evidence, monitor or no issues, and anything that needs a licensed plumber gets flagged too.

Already a Livd member? Add "leak check" to your task list in the Livd app and we'll take care of it on your next scheduled visit.

Not a Livd member yet? Schedule your free home walkthrough at livdhomes.com. We'll look at what your home needs and build a proactive maintenance plan to keep the little things from becoming big ones.
Let us handle it!

Livd members get a dedicated handyman who takes care of your home maintenance on schedule, plus the repairs that come up along the way.

Check your address
Check your address

See if Livd is available in your area

More resources you might like